About this project
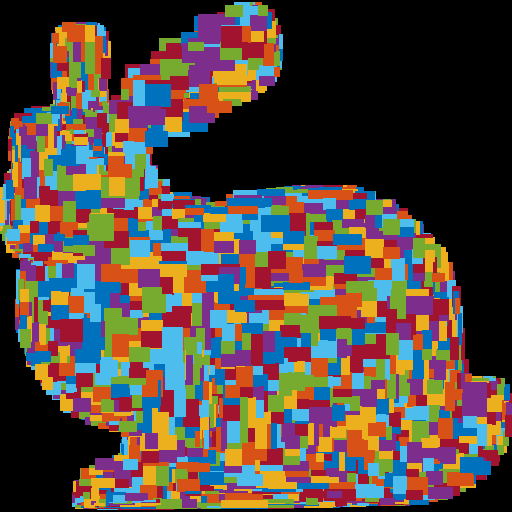
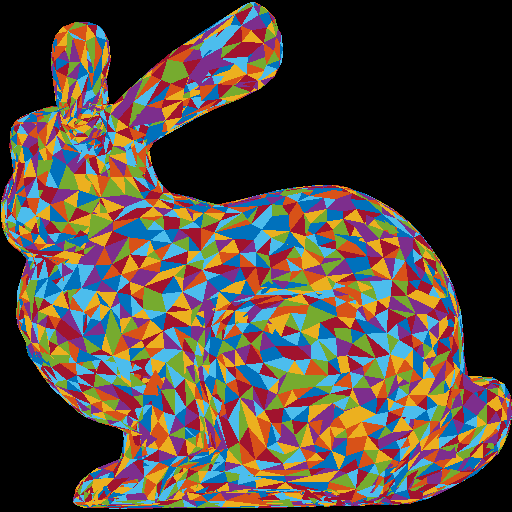
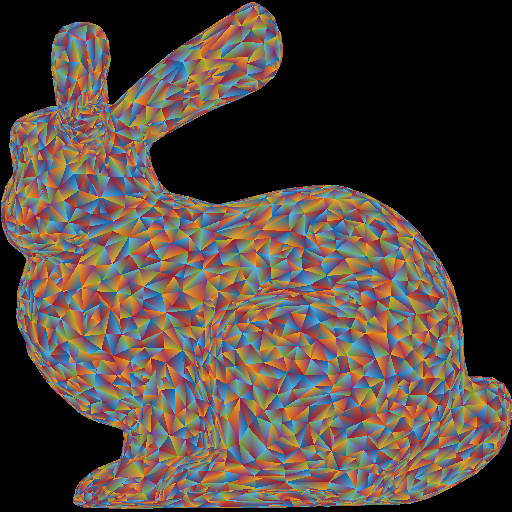
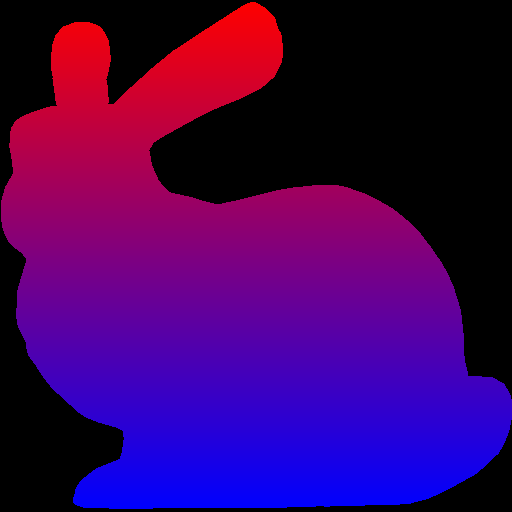
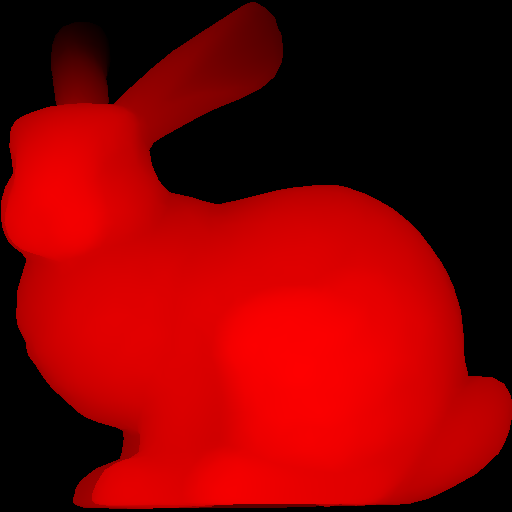
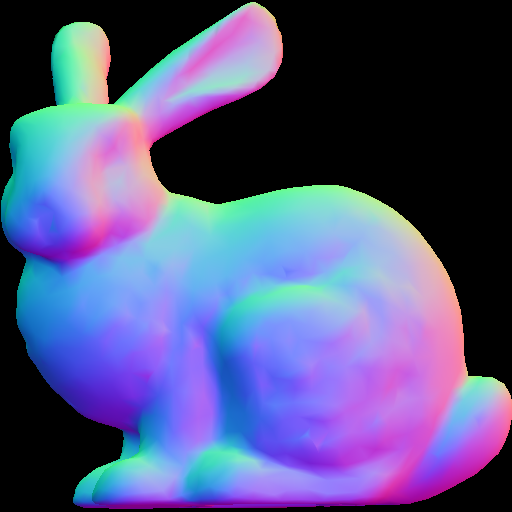
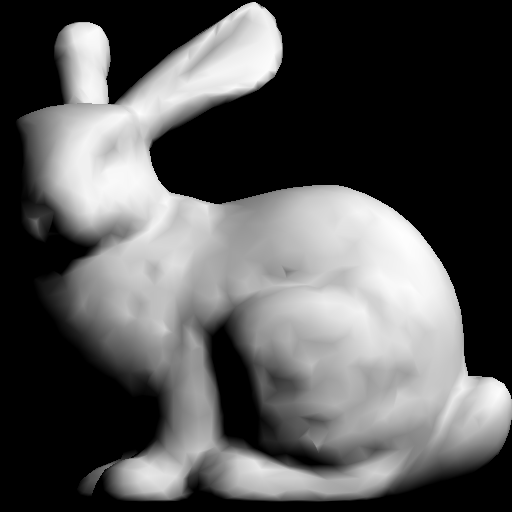
Creating a rasterizer was the first required project for CSCE 441, my computer graphics course. The rasterizer is a simple program that takes 5 command line arguments: the location of an OBJ file, the name of the output file, the width of the output file, the height of the output file, and the desired task. The OBJ file is loaded with http://github.com/syoyo/tinyobjloader and the image is output using http://github.com/nothings/stb. The following images show an OBJ file of the Stanford bunny rasterized with different algorithms. The first creates bounding boxes around each face, while the second displays each face as a triangle. The third also displays each face as a triangle, but uses vertex interpolation to determine the color of each pixel. Similarly, the fourth task uses linear interpolation. The fifth image shows rasterizing the bunny with a zbuffer where a pixel’s z-value is mapped to different shades of red. The sixth image uses zbuffering and vertex interpolation to create “normal coloring,” while the seventh and final image uses the same system to create a simple lighting system.
My work
- Created functions to determine the barycentric coordinates of a pixel
- Created a Zbuffer structure to store pixels’ z-value information
- Created functions that implemented both zbuffering and vertex interpolation to create accurate images
What I learned
- How to read an OBJ file
- Algorithms for scaling a 3D object to a 2D window
- Algorithm for zbufferring
- Barycentric coordinates
- Linear and vertex interpolation